
In this article, a trainer from top Web Development institute in Delhi explains a step-by-step process on how to create an e-commerce website in WordPress with just drag and drop.
What exactly do you need to create your ecommerce website? Okay, here’s the answer to your question a “domain name” which is the address of your website. For example, yourwebsite.com and a “hosting server” which is a space where your Ecommerce website is going to live on the internet.
Get Web Hosting & Domain from any prvider
Now to get a domain and a hosting plan, you can literally use any hosting provider you want but to build an e-commerce website that is going to be accessed by thousands of people for 24*7
We will be using the same hosting and domain provider, let’s install WordPress on the hosting panel
Installing WordPress in any hosting
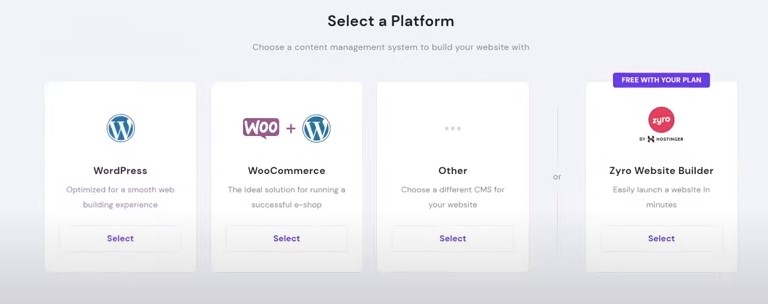
- When you claim and setup your domain and hosting, it will give you the option to start setting up your website where you will be asked how to develop your website. Choose wordpress and install it.
- Create login details to log into your WordPress site.

Hosting will suggest some themes to use in your website, but we’re going to skip that for now because we’re going to choose a better theme later.
- Click on finish setup. As you can see a WordPress site was successfully created now.

If you type in the name of your website on the browser, it will look something like this. As of now, you can see it is just a simple website with a bunch of text on it. So, we’re going to make this website look a lot better in The Next Step.

- Next, we’re going to log into our website. To log into your WordPress site, click on edit site in your admin panel or you can simply type the name of yourwebsite/wp-adminin your browser and enter login details and then click on login.
Here, you can see that’s your Word Press admin panel.
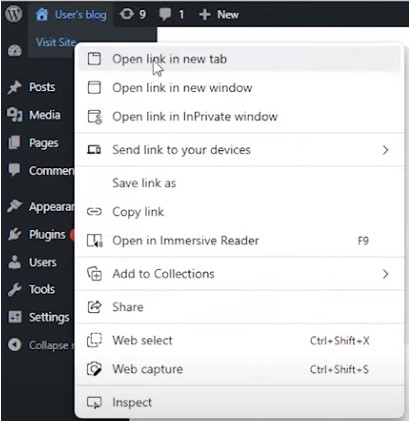
- To check the front end of your website you’re going to click here and click on visit site.
Before we start setting up our e-commerce site, we’re going to first clean up WordPress.
- Go to your WordPress dashboard and click on posts. We have this simple post called “hello world”. You’re going to delete it by clicking on trash.

- Go to pages and then select all pages by clicking ‘Title” and go to “bulk actions”. Select “move to trash” and click on “apply”.

- Next, click on plugins we’re going to delete all of this.
- Check-in the plugin title box and go to “bulk actions”, click on delete and then click on apply.

How to install a WordPress theme?
Okay, moving on to the next step which is installing a theme.
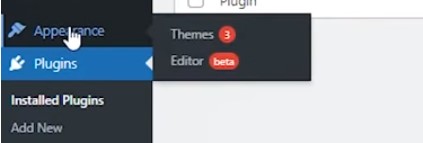
- Go to appearance and click on themes.
- Click on “adds new” and search for any theme by typing the category, we will use “PHLOX” and click on “install”.
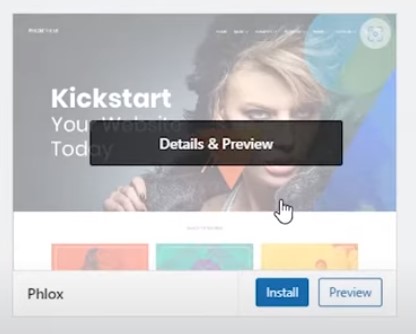
- Click on activate.
- Once you’re done, Install the recommended plugins and you will be redirected to the demo importers section.
- Now, you’re going to select which kind of template you want to use in your website.
- We are going to select “shop” as we are going to build an e-commerce website. Here we have a lot of templates to use which you can import by clicking on the green button.

We are going to use the pro version of theme to unlock some features.
- Go to your WordPress dashboard and click on “appearance” and then “themes”.
- Before we upload the pro version, we’re going to delete some themes that come with WordPress.
- Click on “add new” and click on “choose file”.

- Open your unzipped file, Go to “themes” and select “Phlox Pro”.
- Click on “Open” and then “Install”.
- Press “Activate” and there you go.
How to import a template in WordPress theme?
- For this, just go to the “demo importer” and click on “shop” and here we’re ready to import any templates.

- We’re going to select the organic store template; we will click on import and then continue.
- Click on “install plugins” to install all the required plugins.
Once we’re done installing all the plugins, they will ask you if you want to remove watermarks from the images. Well we are going to skip that for now because we are going to upload our own images.
- Select the first option and click on “import content”.

- “Demo” content has been successfully imported so, click on “preview”.
How to change general settings in WordPress?
- We’re going to replace the whole content by replacing the images and by creating our own products by editing “general settings”.
- For this, go to Word Press dashboard and click on “close”.
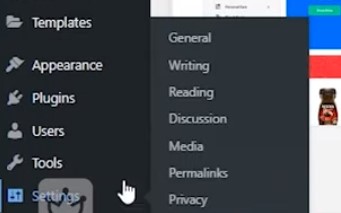
- Go to “settings’ and then “General”.
You’re going to change the name of your website on site title and edit others too in the way.
- Scroll down and click on ‘Save changes”.
- Now go to “permalinks” and select post name.

- Scroll down and click “save changes”.
- If you go to your website and hit the “refresh button”, you will see that your website title has changed.
How to create an e-commerce site in WordPress using WooCommerce?
Here, let’s set up “woocommerce” settings.
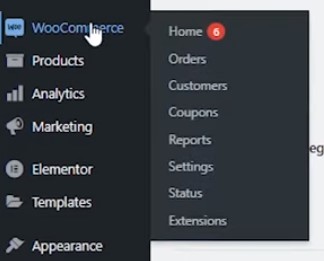
- For this go to “woocommerce” and click on “home” and completes your business information and continue.
- Just fill in the information about your industry, which kind of products you want to sell and continue to next step.
- Under “woo commerce” click on “settings”.
- If you want to change your currency you can change it from the general tab.
- Here, we don’t have any shipping zone. Let’s click on add “shipping Zone” and type locations
- Next, we’re going to add a shipping method by clicking “shipping methods”.
How to add products in Woocommerce for a WordPress ecommerce website?
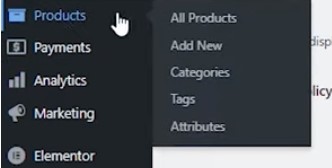
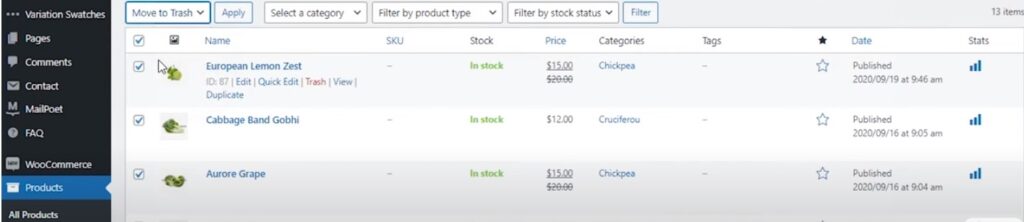
- Here we have a lot of sample products so click on “All products”.
- To delete all the added products, check the small tile and then click on “bulk action” and “move to trash” and click on “apply”.
- Okay, before we start adding products to our Ecommerce website, first create product categories, so we can organize our products much easier.
- Go to “categories” and click on the tile before image column to select all categories and then on “bulk action”, select “delete” and hit “apply”.

- To add a new category, just go to the left hand side and on “name” type in the name.
- Scroll down and click on “add new category”. Once we are done with it, we will be able to add as many categories as we need. You can also rearrange those according to you.
- For the next thing to do, under “products”, go to “add new” and then:
- Type in the name of your product and a description.

- When you scroll down you can also find the products category tab. For this one, we will select the category which the product belongs to.

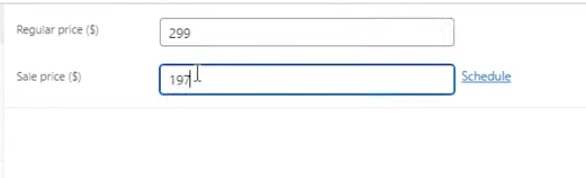
- On product data, type-in the regular price and the sale price.
- Further, go to “inventory” and here you’re going to type in your SKU and fill in the other details too.
- To add your product image, click “set product image” and click “select file”.

- Once selected, hit “set product image”. If you want to showcase more images of your product you can also click on add gallery image.
- “Publish” your images.
- Click on the “permalink” and outcome will flash on your screen.
Steps to create a variable product
- For this, we first need to create product attribute to create sizes and colors. Go to attributes and delete the present ones.

- Now to add a new attribute, go to the left hand side and in the name tile type color and change the type to color.
Here, we are going to hover over “new attribute” and click on “configure terms”. Type-in “blue” and then in color, select your color from the color tile. Like this you can add as many colors as you need.

- Follow the same steps to add “size attribute” too. For this you have to enter “label” in type and click “add attribute”.
This all is done for like any clothing items and you want to describe their sizes. You can also enable the “manage stock” section to tell your customers like how much stock you have available.
How to customise a wordpress theme?
We will start customizing the website logo or brand colors and colors as well.
- Click on customize, and go to appearance.
- Click on “global colors” and change the “primary and secondary color. We are also going to change the “accent color”.
- Once we’ve done, click on publish.
- To add our brand logo, Go to “site identity” and click on “change logo”.
- Create your logo and upload on the website from the ‘upload file” section.
- Now, let’s scroll down to ‘add our site icon’ also known as “fav icon”. If you don’t change this icon your website will automatically use the Word Press icon. There is a specific size to create your fav icon.
- Upload your icon by clicking the “word press customizer”.
- Select your logo and “publish” it well. You’ll see that the website icon was successfully changed.
Setting up a payment Gateway in wordpress ecommerce website
Setting u a payment gateway require some prequisite steps:
- Choosing a payment gateway based on your customers like domestic or international
- Registering with the payment gateway to get credentials and API keys
- Checking if the payment gateway provide plugin for wordpress or need custom coding
- Once you finalise this you can decide the next steps. We will cover this in another blog
In this blog, we have discussed how to list your products from installing your theme, thats how a basic ecommerce site is designed. If you want learn more in detail, you can join our web development institute in Delhi or enroll into our web design online course and also get a recognition certificate.