
Are you considering creating a website? Especially if you’re not tech-savvy, starting a website could seem a daunting idea. Just be calm; you are not alone.
A good website is essential whether you’re establishing a small business from scratch or you already have one and want to increase your internet exposure. While there are many platforms to create a website, WordPress is one of the most popular website hosts due to its flexibility and customization options.
To help those who are not familiar with coding, Our web design institute trainer have made the most step-by-step tutorial on building a WordPress website.It can benefit users of all ages and ability levels.
This is a comprehensive rundown of every step we’ll cover in this guide, from beginning to end.
- Understanding a Domain & Web Hosting
- Buying a Web Hosting with Free Domain
- Installing WordPress
- Installing a Free WordPress Theme
- Installing Few Necessary Plugins
- Configuring or Customizing Settings of website
- Creating & Designing Pages
Set up your Website
Setting up the website requires two steps to be done thoughtfully. First is to get a good hosting plan and then an apt domain name for the website.If you’re still unclear about what a domain name is, web hosting is, and how these things relate to websites, see our article How do a website, a domain, and hosting relate to one another?
Getting Web Hosting
Getting web hosting is the first step in creating a WordPress website.WordPress requires web hosting for your site to be accessible online.While there are several platforms offering basic to premium hosting services, some of the most popular ones include GoDaddy, Hostinger, and Bluehost.
Getting a Domain Name
Now buy a domain name from one of the top domain name registrars, such as GoDaddy or Google Domains, and manually link it to your web hosting provider.
The following factors should be considered while selecting a domain name:
- The shorter, the better.
- Eliminate dashes and numerals.
- Though there are other excellent choices as well, try to stay with.com.
- Steer clear of copyrighted content and names that are trademarked.
- Verify if the domain is still accessible.
- Avoid using terms that are hard to spell or pronounce.
Install WordPress
Once you are done with hosting and domain purchase, it’s now the time to install WordPress. Just link your web hosting account to WordPress.
Installing WordPress in Hosting has a process that directly depends on the hosting you are using. Check help page of your hosting and then install it. Once it is installed, login into the wp-panel. Just type “ /wp-admin” just after your domain name in the search bar , it will ask you for the username and password. It will then prompt you to the dashboard of the wordpress where you will be able to customize the website.
Install WordPress Theme
A theme is essentially a website template in the WordPress world. Your website’s appearance, features, and initial capabilities are all controlled by the templates. Every WordPress website has a default theme installed. If you go to your website, it will appear like this:
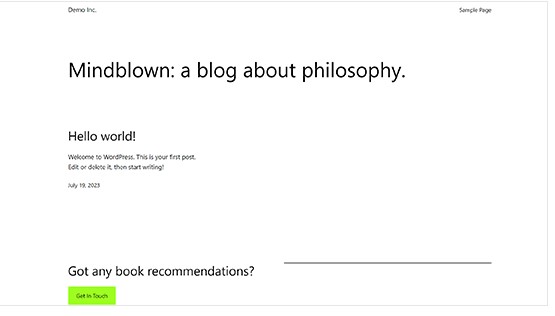
But don’t fret. You can install dozens of premium and free WordPress themes on your website.
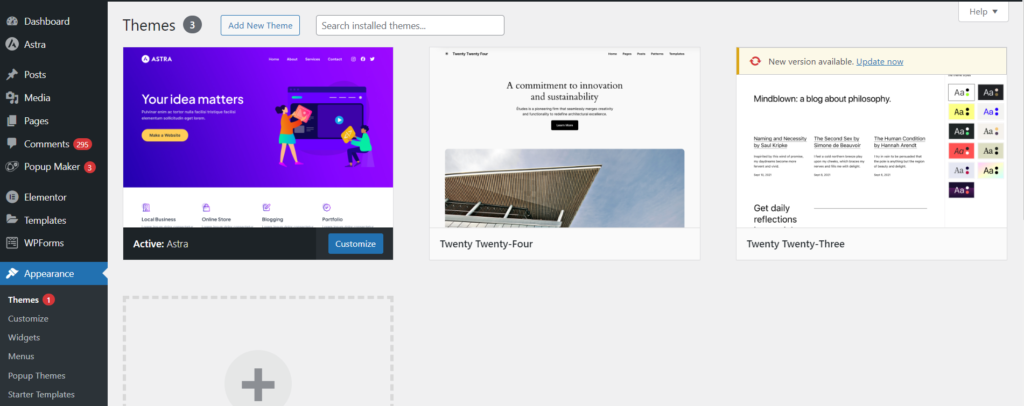
From the admin panel, you can modify the WordPress theme for the site. Go to the “Appearance » Themes” tab and select “Add New.”
The official WordPress.org themes directory offers over 11,000 free WordPress themes for search on the following screen.We’ll be utilizing Astra for the purpose of this guide. It is a widely-used free WordPress theme that can be used for many different types of websites and has versatile design choices.
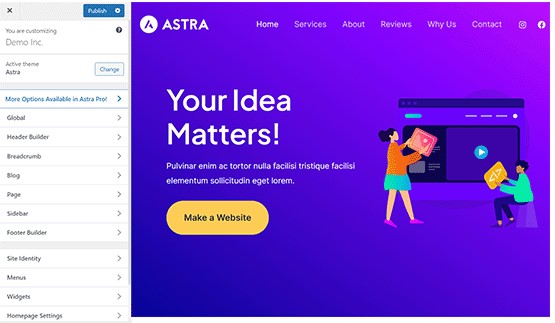
You can look for the free theme you wish to install by entering its name in the search area.The theme will appear in search results on WordPress. To install the theme, move your cursor over to it and click the Install option. After installing your theme, select the Customize option from the Appearance menu to begin customizing it. This will take you to the theme customizer, where you can modify the theme settings while seeing a real-time preview of your website.
Install Plugins
Plugins for WordPress work similarly to applications on your website. They let you customize and add new features to your WordPress website like contact forms, picture galleries, AI Chat etc. Following the installation of your theme, you must install and activate all essential plugins to let you increase the functionality of WordPress. However, you should strive to restrict the amount of plugins you use, since too many might slow down your site or cause other plugins to malfunction.
To install plugins, navigate to the Plugins page from your WordPress dashboard. For WordPress, there are presently around 59,000 free plugins available. Additionally, third-party websites and developers sell premium plugins.
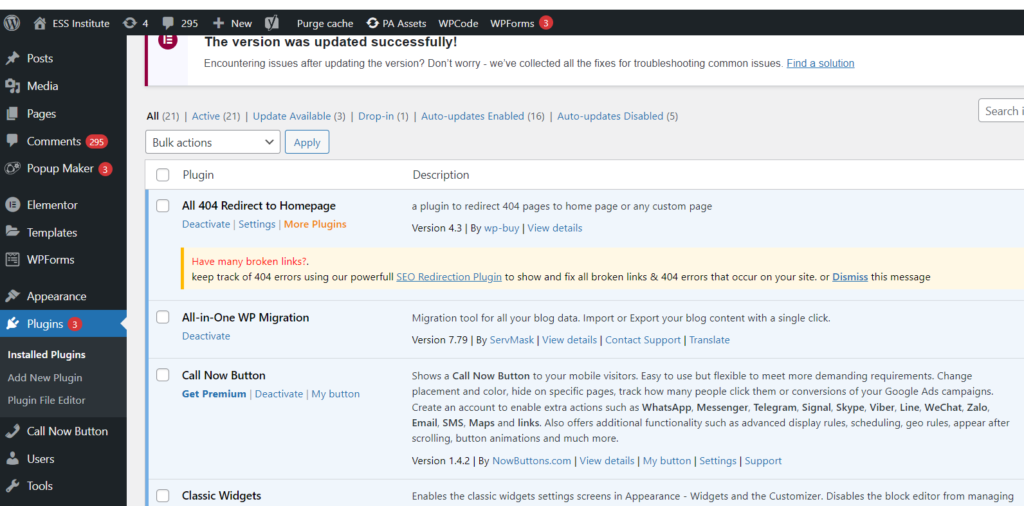
All corporate websites should have the following plugins installed:
Elementor
Turn your page editor into a more user-friendly drag-and-drop editor by using a page builder plugin, for example Elementor.
Akismet
Defend your website against comment spam.
Google Analytics
Monitor the traffic and activity on your website. This is a must if you’re a blogger since without it, most businesses won’t collaborate with you.
Jetpack
Offers upkeep, security, and performance improvements for your website.
HubSpot
Enhance your WordPress website with complimentary live chat to offer customer service, email marketing for newsletters, and CRM. Combines well with OptinMonster.
Yoast SEO
Aids in search engine optimization of your postings.
LiteSpeed Cache
An all-in-one, comprehensive plugin for site acceleration that comes with a variety of optimization tools and a dedicated server-level cache.
Disable Gutenberg
It will deactivate the basic WordPress webpage builder that has lots of limitations and will make it easy to use plugins and theme functions that extend the Classic Editor.
Tweaking the Settings
You must set up the settings, such as naming your homepage and blog posts page and modifying your site’s name, tagline, and icon, before you start customizing your web pages or laying out the content of your website.
Here’s how to set up the most popular settings:
- Logo: Go to “Appearance” > “customize” > “site identity > “change logo” > upload your logo.
- Site title: Go to “appearance” > “customize” > “site identity > input site title (a.k.a. your business name).
- Site tagline: Go to “Appearance” > “customize” > “site identity > input site tagline (or simply delete the default WordPress tagline).
- Site icon: Go to “Appearance” > “customize” > “site identity > under “site icon” click “change image” > upload the image you want to display as your site icon (a.k.a. favicon).
- Homepage: Go to “Appearance” > “customize” > “homepage settings” and select the webpage you want to set as your homepage.
- Blog: Go to “Appearance” > “customize” > “homepage settings” and under “posts page” select the page you want to set as your blog.
- Permalink settings: Go to “settings” > “permalinks” then choose your preferred structure (typically “post name”) and save changes.
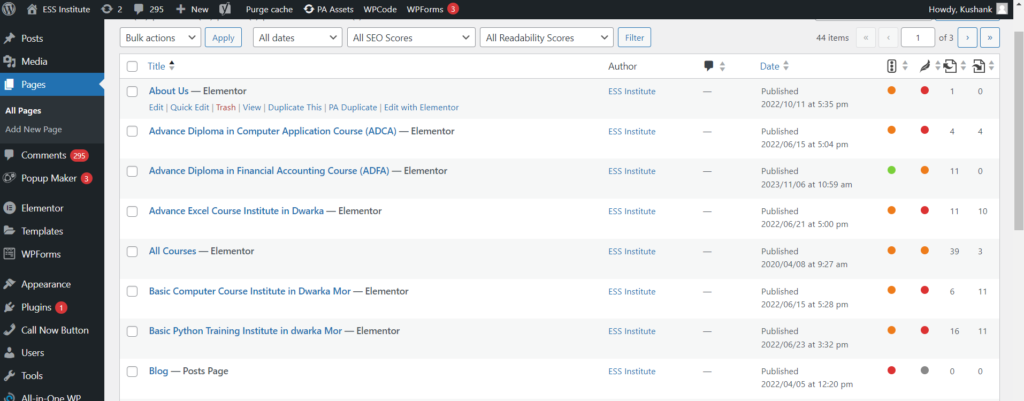
Create Pages
It’s time to start creating your web pages that form the foundation of a website. A company website, for example, usually consists of many pages, including the homepage, prices, services, about, and contact. Posts and pages are the two default content kinds that come with WordPress. Blogging features include posts, which are arranged chronologically backwards (newest entries are seen first). Pages, on the other hand, including your privacy policy, custom landing page, about page, and contact page, are supposed to be static, “one-off” types of material.
To display your most current postings, you can make a distinct page for your news or blog area. As an alternative, you can set up a website with no blog area at all. Here’s how to use WordPress to build and/or modify pages:
- Navigate to “pages” using the vertical menu on the left side of the WordPress dashboard.
- Click “add new” to start a new page.
- Go to “all pages,” find the page in the list of pages, and click “edit” to make changes to an already-existing page.
- Choose the option to edit with the page builder (i.e.”edit with Elementor”) at the top as we have installed a page builder plugin.
- Compose the copy for your website and add personal touches to each page.
- Press publish once you’re finished.
- For any additional pages you wish to build, follow these instructions again.
Set Up Navigation Menu
After setting up your pages, design and build your menu. This is how people browse your website; the number of menus you have, such as those at the top and footer of the page, will depend on your theme.
This is how to set up the menu on your website:
- Navigate to “menus” under “appearance” from your dashboard.
- Choose the page from the list on the left to add it.
- To rearrange your menu or to arrange pages as sub-pages beneath other pages, click and hold the pages.
- Select “Save Changes.”
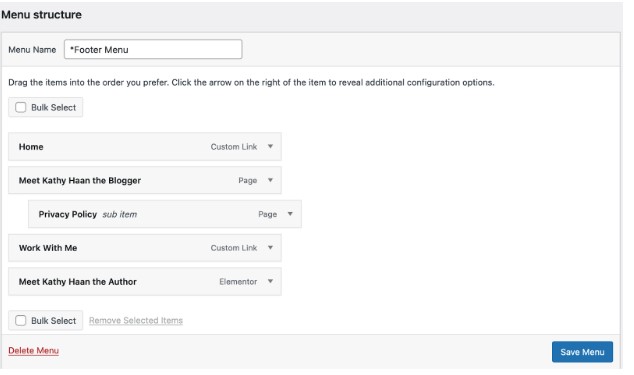
Following menu setup, locate the “menu settings” section by scrolling down the same page. In the “display location” column, select “primary” by checking the box. This will configure the menu to appear in your header as the primary menu for your website.
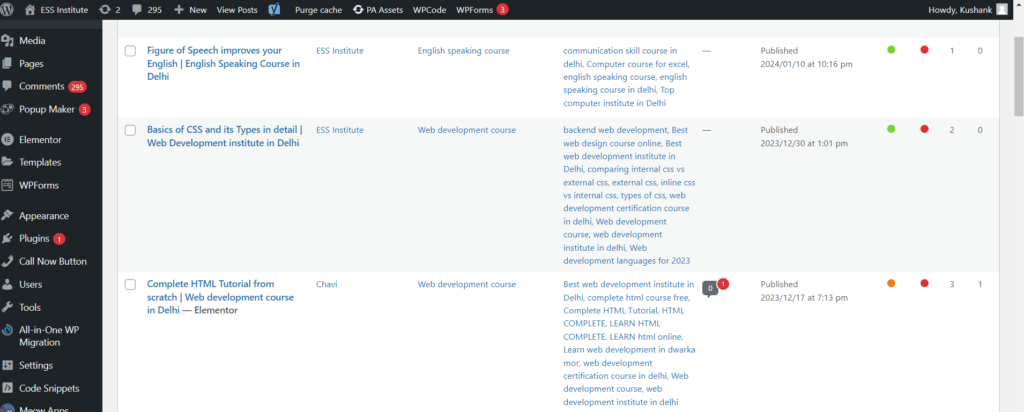
Add Content & Media
Now you need to add blog posts or other needed content to the pages.Many organizations prefer to include blog postings to boost their chances of being seen in search engines like Google. Here’s how to use WordPress to write a blog post:
- On your dashboard, choose “posts” from the left side, then click “add new.”
- Enter the title of your post.
- Decide which category to place it in.
- Compose the material for your blog.
- When you’re finished, click “Publish.”
The primary difference is that, unlike a page, you can compose a blog post and then set it up to publish at a future date.
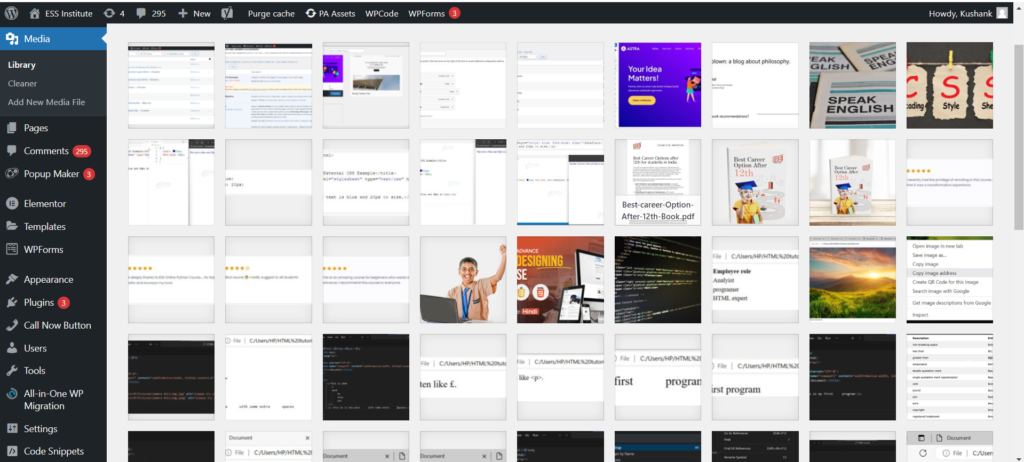
You can even add media and other images to enhance your content. You can, for example, include a gallery of your products or work images to make the homepage more appealing.
Market Your Site
It’s important to consider how you’ll market your website. Companies who have engaged in various internet marketing tactics to increase their online exposure and attract more visitors to their website are those that are easily found online.
The following are some of the best strategies for website marketing:
- To help your website rank right away, submit the URL to Google Search Console.
- When creating any kind of marketing material, such as business cards or email signatures, don’t forget to include your URL.
- Make social media profiles for your website (such as a Facebook business page, an Instagram account, or a Pinterest business account) and link to them from your postings.
- Establish a Google My Business profile to appear in local search results.
- Submit your website to Yellow Pages, Tripadvisor, Yelp, and other pertinent internet directories.
We’ve now already covered how to create a WordPress website, install necessary plugins, add new web pages, and add new themes. If you’d want to go even farther, you can develop strong specialty websites that are able to perform much more. For example, you can add an e-commerce store,start your own podcast, create a web directory etc..
WordPress can be helpful for non-technical people to build simple websites but when it comes to customizable feature rich websites, you need expertise. ESS institute is one of the top Web development institute in Delhi and have recently launched a new online web design course to help you make websiyes. You can enrol in both online and offline batches now for detailed knowledge.