Some of you might be scared of coding but also really wants to try hands-on making beautiful websites. Elementor is a powerful page builder for WordPress that allows you to create mind-blowing websites without any coding knowledge.
Here, a trainer from Web Development institute in Delhi is going to make you familiar with Elementor and all of its other features wordpress website development.
We are going to show you how to create mind-blowing landing pages step by step and how to customise them with your own images, text, colours and fonts. It is super easy using WordPress along with a free and super simple drag-and-drop page building plugin. With a few extra clicks we’ll make sure that it will look and functions amazingly well on all of your mobile devices too. You will be started by getting set up with a domain name and .com hosting. It’s really an easy way to get your WordPress set up.
- Get your WordPress installed and log in to it.
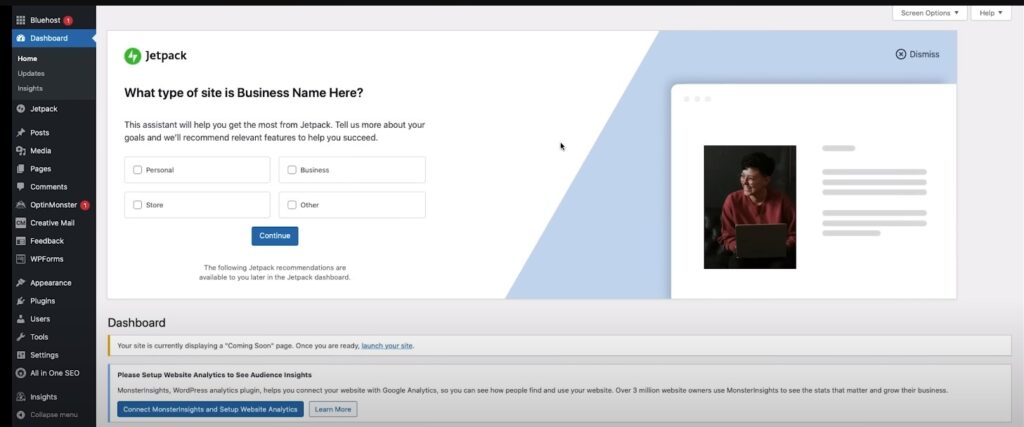
2. Most important thing for you in WordPress is the side panel. Here most of your options are located like whenever you want to write a blog post for, you will have to click on “posts” and then “add new”. Same you can do with adding any new page.

Before we can get started, we do need to add a few things.
Install Theme
Navigate to Appearance > Themes > Add New, search for “Hello Elementor,” and click “Install” and then “Activate” to set up a simple theme compatible with Elementor.

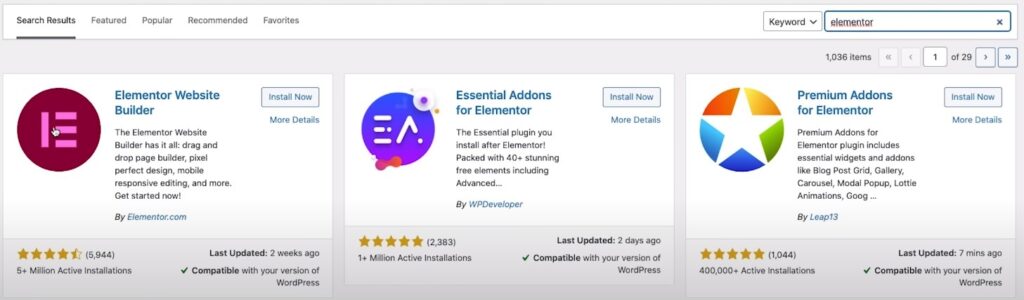
Activate Page Builder
- Go to Plugins > Add New, search for “Elementor,” and click “Install Now” followed by “Activate” to enable the Elementor page builder plugin.

2. Although the “Hello Elementor” theme is installed, the primary work will be done using the Elementor page builder to design and customize the landing page.
3. With both the theme and Elementor plugin activated, you’re ready to begin creating your landing page by going to Pages.
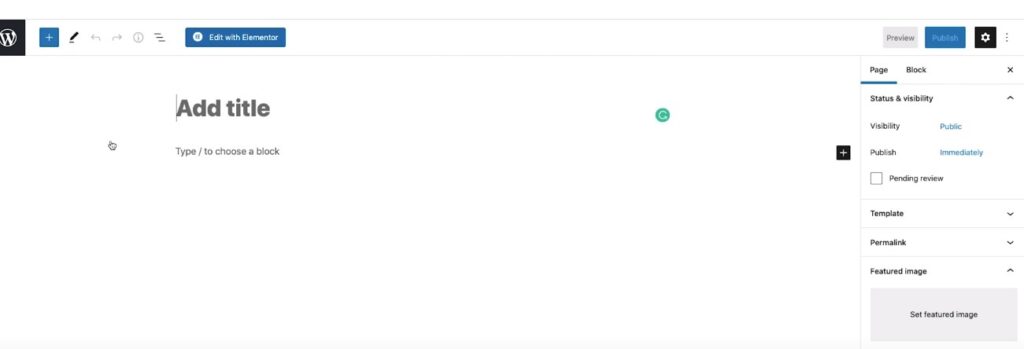
4. Now, we have all the pieces we need in order to get buildings. We’re going to hover to “pages” and “add new”.
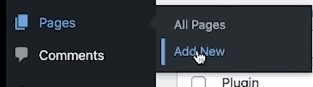
5.You can type in whatever you need to enter here and then edit with Elementor.
6. This is what it looks like inside the Elementor page builder.
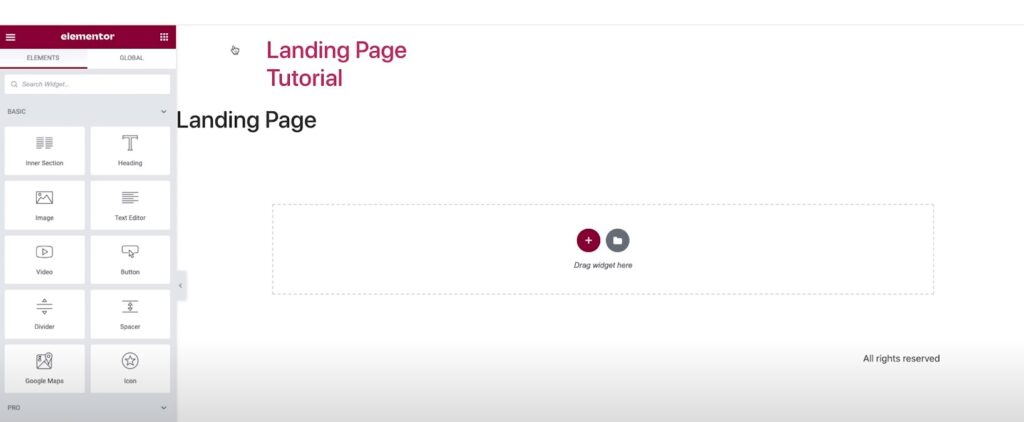
7. This is the left sidebar where we have all of the elements all the different widgets and where we can change the text and all that kind of stuff.
8. The first thing we want to do is actually get rid of all this stuff up and we want to start with a brand new clean page.
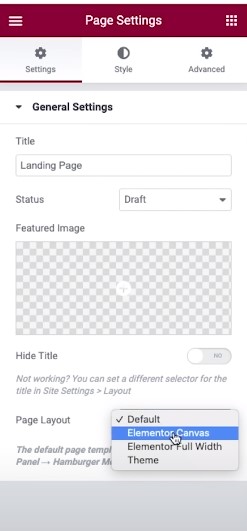
9. To do this, we’re going to go down to the little gear icon in the bottom i.e. “settings”.
10. Under “page layout” we’re going to go to Elementor canvas.
As a result, we get a brand new page to work with and then you will be dragging elements into place.We willmake this landing page in sections and there’s a few different ways to do it.
The first way would be to click on the “folder icon” right here and then go over to premade blocks and you will get all these blocks of different layouts that you can choose and or use “plus” for basic elements.
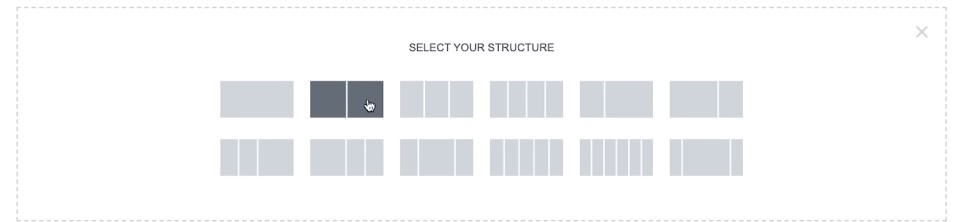
11. We will build a section completely from scratch by clicking on the little plus icon.After clicking on it, choose how many columns you want.
12. The first thing is to start dragging in our different element. This is going to be the top section of our landing page. Click on this little grid to bring us to all of our widgets.
13. Drag all the desired widget on the main screen such as heading widget, text editor and a button.
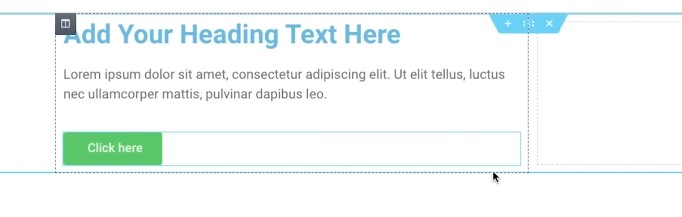
14. We can have customisations in this. To adjust vertical space, we will choose the entire section and then under “layout” we will go over to “height”. Here we will see a few options.
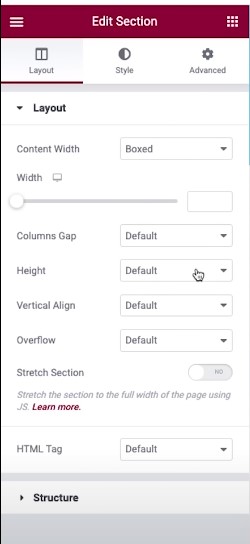
15. Under” height”, we can do “fit to screen” which make it to the entire height of the screen or can choose the maximum height to enter manually. Let’s dress this up a little bit and some more things to it.
Adding A Background Image
- Choose the entire section you want to modify. Navigate to the “Style” tab.
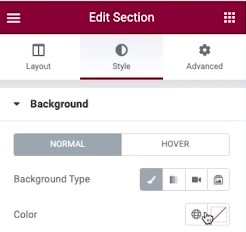
2. We will choose “classic”. Under classic you can also just choose a background image. Go over to media library and choose the right image here.
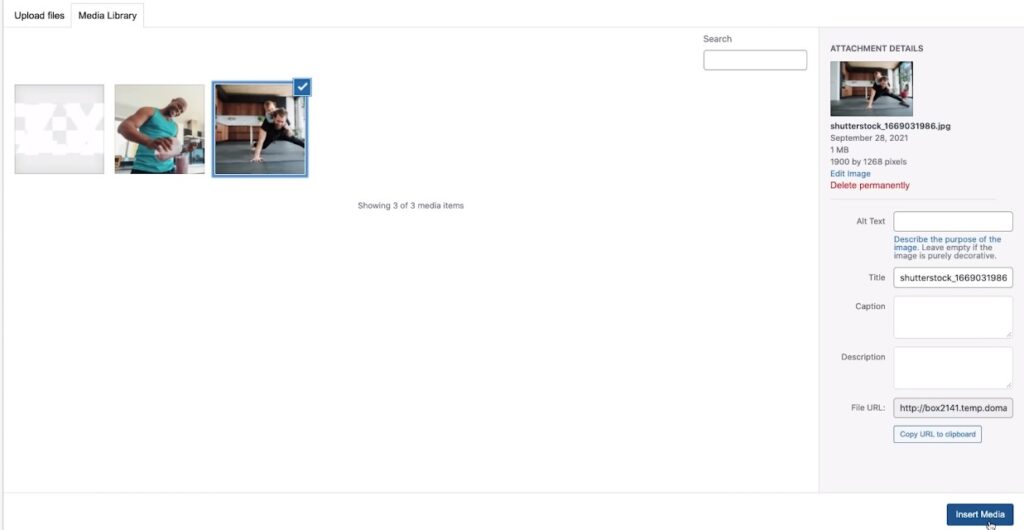
3. To fill the space right, go to “size” and choose “cover.” It will make sure that the image is just big enough to cover the space allotted. What if we notice that there was too much head space and we wanted to move the whole thing. Navigate to “position” and we can do all kinds of alignments under it.
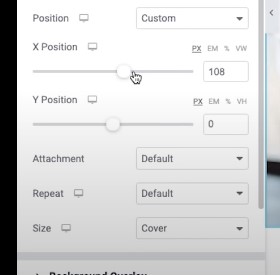
4. Press custom, if you want to adjust the image position manually.Notice, how the image scrolls with you when you scroll the screen down. Switch the attachment to “fixed” under styles.
Customising Text
- Click on the header and there’s lots of stuff we can do here.
- In order to change the text, you have to go to “content” and then you would type in your new header here.
- For the text underneath it, put in something that’s telling people exactly what you’re offering and how that’s going to improve their life.Customize the call-to-action button for clarity and effectiveness by going under “content.”
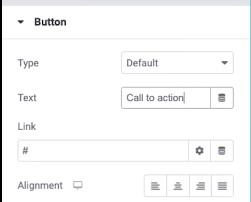
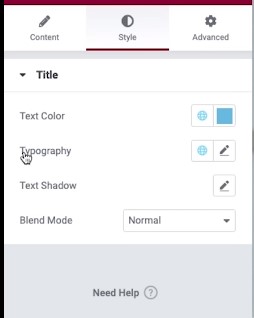
4. Replace generic phrases like “Click Here” with specific actions like “Get Yours Now.”To change the style, click on header and then we’ll go over to style and this is where we can change everything about it.
5. Starting with the text color, we will choose “simple white” as this works best most of the time. Under “typography”, we are going to choose one called “Poppins” and you can choose your liked ones.
Let’s Jump up the size a bit and make it bold. Speaking of bold let’s go under “weight” and this particular font has like nine different weights to it. Under “transform” you can make it all uppercase, lowercase and capitalize as well. “Line height” is an interesting one where you can make your text looks tighter or more spread out. We’ll do the same thing with the text underneath it.
Now, Moving Down To “Call To Action” Button.
- Under “style”, choosing the same “typography” and this time under “transform”, we will make it all uppercase.
- To change the button color, we would just go under “style”, go down to “color” and then you can choose any color you want.
You just need to collapse the sidebar by clicking this little arrow icon here to see full screen preview.
Adding Gradient To Background
This white text is a little hard to read over the white. To make it visible, we can also darken the text side. We’re going to choose the “section” again and under style we’ve already chosen the background image.
- Now we need to put on an “overlay”. Under “styles”, go down to “background overlay” and again we will go under “classic” and choose just black.


2. The problem with that is it darkens the whole background.What if, we just wanted it to be dark from the left only? We will go to choose the “gradient” instead.Next thing we will do is change the” angle of the gradient”. We want to fade it from left to right and we will set it to 90.
Here we will adjust “opacity” and set it to 0.
Icon Customization
- Go over to our “widgets” and type in “icon.” Look for an “icon list” and drag it under our button. We can choose whatever icon and text we want for it.
2. Under the “text”, include some kind of risk reversal text, right? Which I mean is something that’s going to make people feel better about clicking this button.
3. When we’re trying to really bump up those conversion rates, this step really helps us a lot. If you wanted to change the “icon”, click right on the icon in left hand side panel and choose whatever you want.
4. Go up to “style” and then go under “icon” and change other properties as well.
5. Go under “text” and change the text color to white.
6. Go to “typography”, choose “Poppins.”
Adding A Shape Divider
This bottom section is pretty squared off, but there’s some cool stuff you can do.
- Choose the section under “style”. Go down to “shape divider” and Choose whatever shape for the top or bottom you really like.
- Click on bottom and then under “type” choose from all these different types.
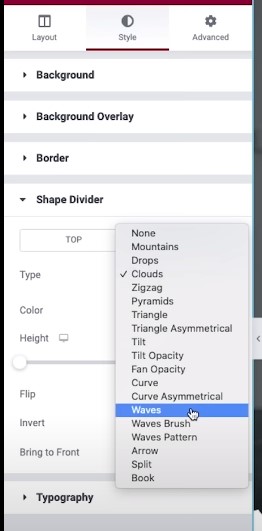
We are choosing waves; it’s nice and simple. You can also Change the height of the waves accordingly.

Adjusting Margin And Padding
Margin is the space from the outside of this box above it.
For example: Any section is sitting 100 pixels away from other one. This is just empty space. We’re actually going to keep it zero in this case. Padding gives us room on the inside of our section, which is really where we want it to be.
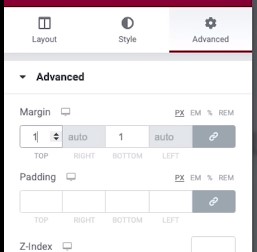
Try Typing in any value in padding section and you will see how it automatically tethers all these values together on the left, right, top, and bottom but you can also unlink these values by clicking on grey link button. Then, you can write values manually.
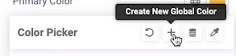
How To Save Color To Pick It Quickly?
- Click on the “plus icon” next to the color picker.
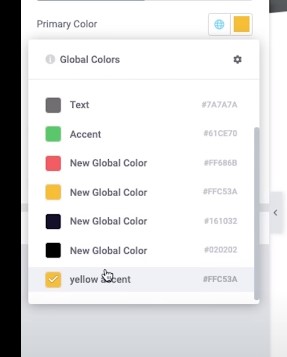
2. Name the color by entering its color code and create (e.g., “Yellow Accent”). and Use it anytime by clicking on the “global colors icon.”
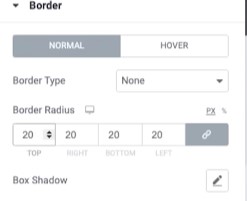
3. If we wanted corners of any section to be rounded, we would just go down to “border” (under style) and then set the border radius accordingly.
How To Use A Pre-Made Block For Our Page?
Rather than clicking on the “plus icon”, just click on the “folder icon” and we have all of these pre-made blocks in all different formats that can be customized with all your colors and all your images.
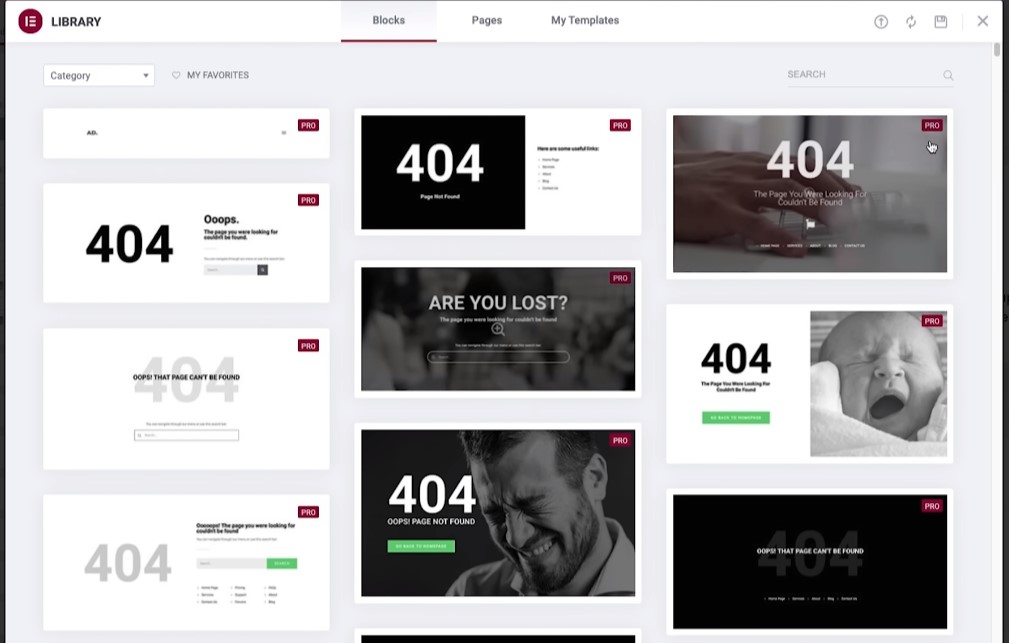
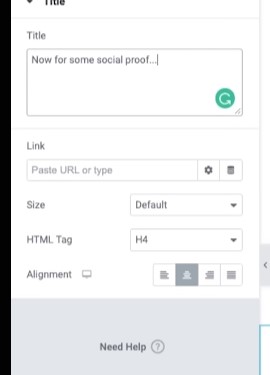
You can also search any desired block by searching it in “categories”. After picking one from them, you can customize everything like title, typography, ensuring consistency, and adjust line height for alignment and other properties as well. You can also insert any widgets additionally you want to be there.
onlinLearn more about wordpress website development here
How to add image in elementor WordPress pages?
- Click on the given “image” and then go over to “content.”
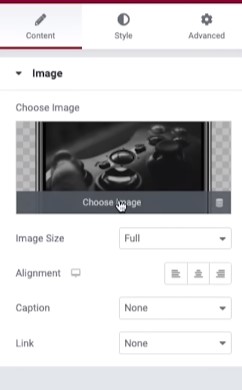
2. Choose image and again you would just drag over whatever image you wanted to use and insert it.
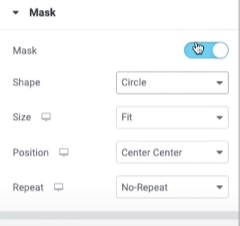
3. If you want to change the shape of image, you can go up to advanced and then under “mask”, you will have all these different shapes and you can choose from them.

Add social proof and testimonials.
- Add a pre-made text block by following the steps below.
- Click on the “folder”.
- Under “category”, look for testimonials.
- Choose a “layout” and click on “insert”.
- Customize the entire thing you really want to under style, content and advance options.
- Go through each “testimonial widget” and add the text, person’s picture, name, and job title/descriptor. Use a five-star emoji for visual impact.
7. Under “content”, type in the testimonial content and choose the correct image of the person.
How To Add Video?
- Click on the “plus icon” and select a two-column layout.
- Go to “widgets” and grab a video if you have a video describing your product or lead magnet. We highly recommend putting it here. If not, use an image.
- Grab a heading and a text block or text editor.
- For the heading, build extra credibility by talking about your authority and how you’ve helped others.
- Style the section by selecting it and going to “advanced settings.”
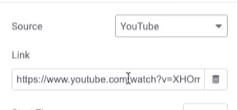
- Add your video by selecting the “YouTube option” and pasting the share link. It really helps in SEO.
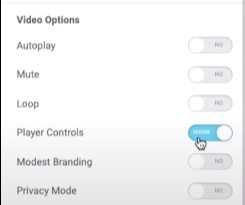
7. Turn off “player controls” to reduce clutter.
What are the Advantages And Disadvantages Of Using Elementor?
As we can drag and drop every widget we need, make it very simple to work with attractive and engaging pages. It enhances user experience and reduces bounce rate as well. Elementor already have some popular SEO plugins like Yoast SEO and Rank Math which helps in content optimization and make it quite easy as well. It also offers us mobile responsiveness which is considered as an important factor for SEO as search engines favors mobile indexing first.
Additionally, the built-in SEO features of Elementor, such as fast-loading widgets and schema markup, help in enhancement of your website and SEO performance but on the other side, Elementor can add extra code to your pages which slows down your site resulting in major effect SEO.
Its heavy use of JavaScript may make it hard for search engine bots to crawl your site properly. Clients sometimes demands advanced techniques for SEO but they get disappointed because we will have the limited control over HTML, CSS, and JavaScript using Elementor. There are some Functionality issues as well because of some plugins or themes.
We have come so far in this journey, but still if you find out any difficulty in understanding the concept you can take out help of mentor by enrolling into a web design course in Delhi or online website development course in Hindiby ESS