Figma is a powerful and collaborative design tool that helps you create, prototype, and collaborate on interface designs. We will learn everything we need to know for designing websites and mobile applications in Figma. You can use Figma for free. The paid version just allows you to create more files and have team libraries kind of features. But as long as you don’t collaborate with a large team, you don’t need a paid version. Learn figma basics from ux ui design course institute in Delhi
How to install FIGMA in your windows computer?
To get Figma, head to the Figma official website and create your account if you are first time over here. Once you finish creating your account using your g-mail account, you’ll land here in the Figma first run flow after filling all the details whatever is asked. On the homepage, click on the button that says, “get started”.
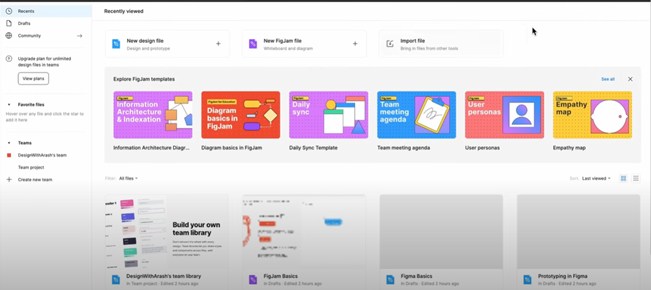
Here is your Figma dashboard and you can find all your drafts, recent files and community here.
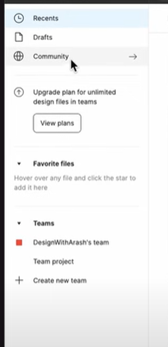
Right at the bottom you will see “teams” option. From here you can simply create a team and add different team members to it.
At the top, we have three different options as “new design file” which allows you to create a design file, “fig jam file” which allows you to create a white board basically and the “import file” option which will allows you to bring different files from other design software.

For example: If you’ve already worked with sketch and you have a sketch project, you can simply use this import file option to import sketch files to Figma.
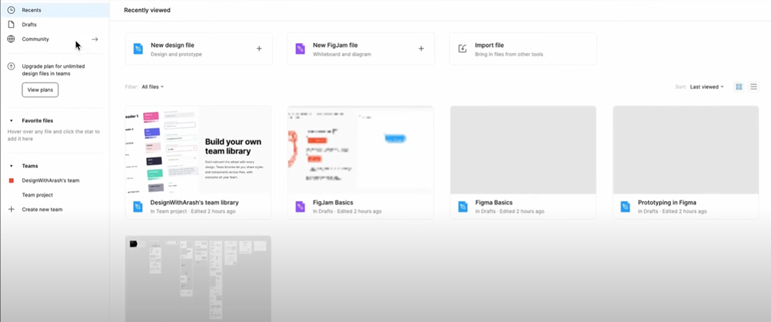
Whenever you work on a project, your project will appear in the recent section.
If you go to draft, you will see a similar layout but here you can find your files in a more organized way. But if you are just working on a project, every single time you would go to recent projects.
Figma interface is divided into four main sections as follows:
The canvas right in the middle
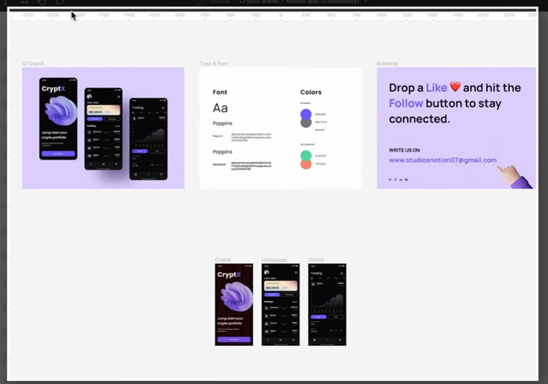
The canvas is where you put all your frames, artboards and your design.
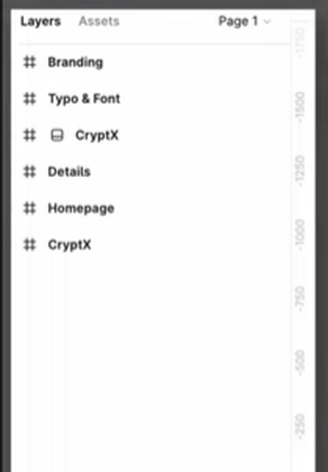
The layers panel on the left
Whenever you create something either it is a text, an image or a shape, it will appear as a separate layer on the layers list.
In the assets panel we can find our components. For example: We have this status bar and then you can just drag and drop any of your components into your canvas or frame.
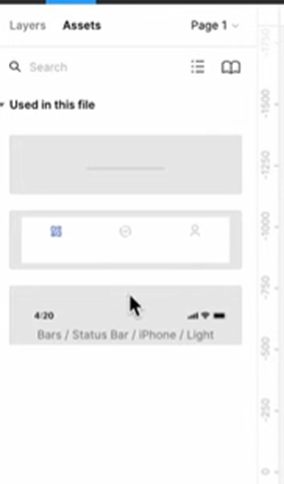
You can also share your assets with other designers or team if you just click on this team library option right here.
The Design inspector on the right side
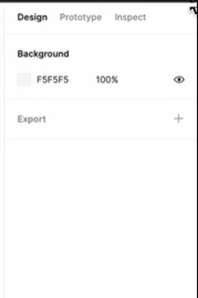
The design inspector on the right side is an important panel in Figma because you can basically adjust the properties of your layers in the design inspector.
For example: If we need to do any kind of customization on this deposit button, you will see that on the layers list, the button layer is already selected.
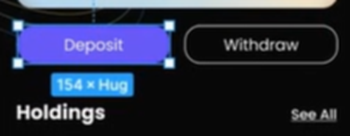

On the right side in the design inspector, we have options like the alignment at the top, coordinates, width, height, corner radius and others.
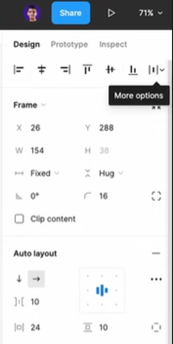
We also have auto layout constraints, layout grid, fill, stroke effects etc which you all will going to use practically.

The toolbar at the top:

In the toolbar, we have the selection tools. It just allows you to select something in your canvas and just move it around. It’s useful whenever you want to scale something proportionately.
let’s suppose you want to scale the deposit button shown above:
To do this, hit ‘k’ on your keyboard to select the scale tool and then scale objects proportionately.
How To Rename Project Title?
- Right up on top, click on this dropdown menu and rename this project to anything you want by left clicking upon it.
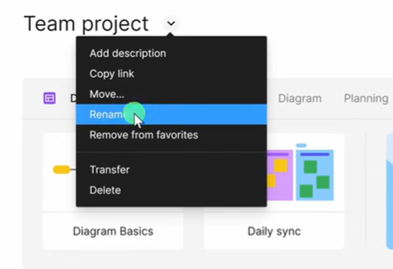
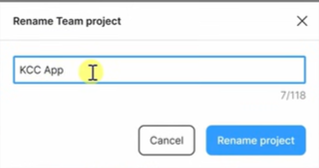
- Rename the project, and create a file that you will going to use to design further.
- So, in the top right-hand corner we will click on “Design File”. This drops us into the Figma Editor.

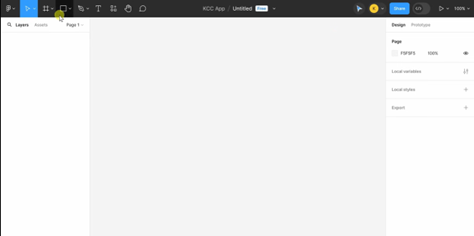
- To get back to the file browser follow the steps below:
- In the top left-hand corner, click on the Figma dropdown for the main menu.
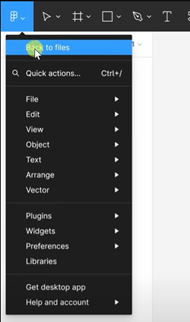
- Right up on top, we have the option to go back to files.
- It will bring us back to that file browser view, and down below we now see the name of our project as well.
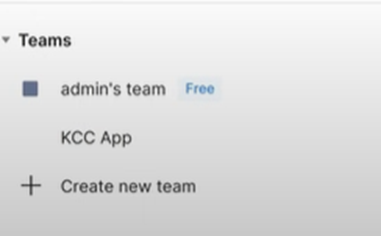
Jump back into the canvas by double-clicking on the file you have created.
Shape tool:
The next feature is shape tool where you can create desirable shapes such as a rectangle, line, arrow, ellipse, polygon, star and others. You can also use this “place image” option to place images.
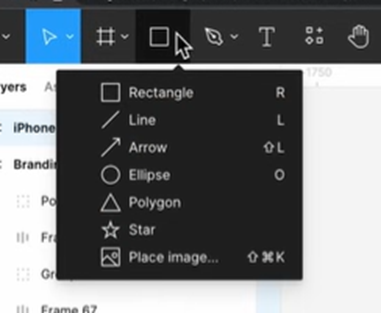
For example: Suppose you want to create a button. Using frames to create a button is a better way but you can also use rectangle shape to create a button.
Count property:
Here, we have a new property called “count” and it allows us to add more edges to any shape.

If you want to adjust any of these shapes, you need to enter the edit mode.
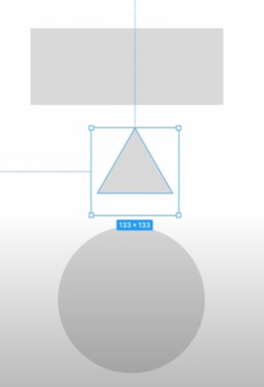

In order to enter the edit-mode you have two options:
Double click on that particular shape and as you can see the toolbar has changed. You have different options now and you can simply select any node of shape inserted and move it around to create a custom shape.
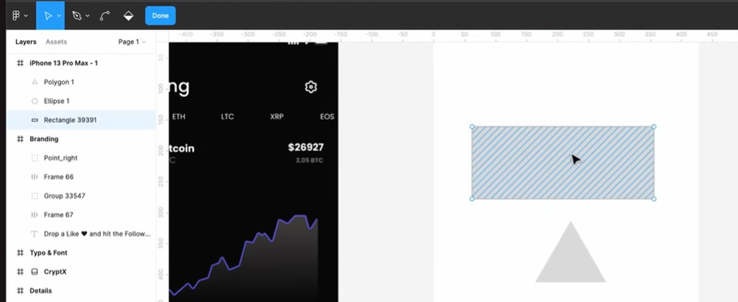
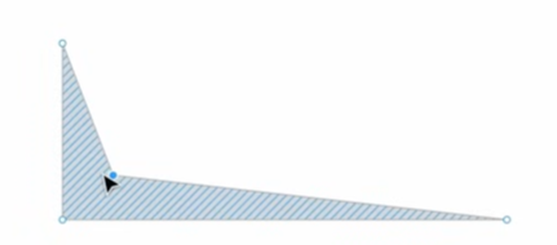
Once you are done editing, you can just hit escape.
How to use figma?
We need to insert some type of container or frame to place different UI elements.
Basically, frames are artboards and they just work like a blank page that you can just put stuff on and start designing.
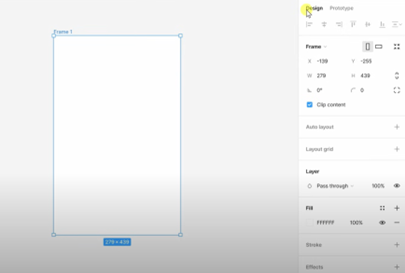
To create frames:
- Right up on the top toolbar, on the left-hand side, we have the menu.
- Click on the menu and you’ll see that there are a few different options within this menu, and the first one is called a frame.
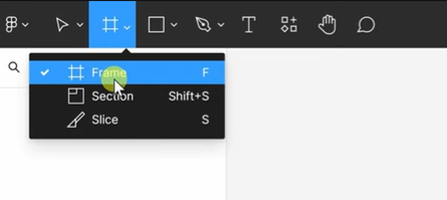
- Alternatively, hit “F” on your keyboard or left click and drag to create a custom size frame.
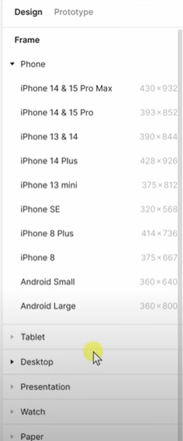
- Hit “A” key and on the right side you can see that a few pre-built frames with pre-defined sizes appears.
For example: If you want a frame size of iPhone > Go to phone > You can see the dimensions of different devices and then you can start adding Ui elements to this frame.
- As you draw the frame, at the very bottom, you’ll also notice the dimensions of your frame.
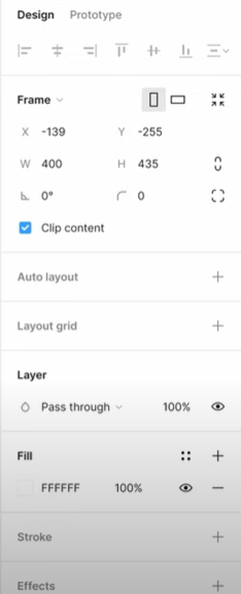
- On the right-hand side panel, you’ll see two options that is Design view and prototype.
- Down in this panel, you’ll notice all of the different dimensions for frames.
- You can also enter dimensions of your choice for frames directly.
How To Duplicate Frames?
You can select the frame from the layers list, and press Ctrl C and then Ctrl V to make a copy. Alternatively, you can select the frame and press Ctrl D to duplicate the frame.
Renaming A Layer:
- We sometimes want a name for frames that better reflects what’s within it.
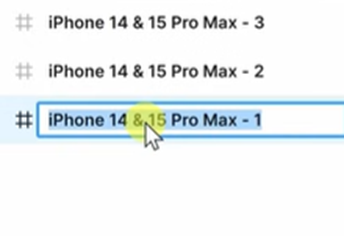
- To rename any layer:
- Double-click on the layer which will highlights the text, and here we’ll type in layer name.
How to add background?
Whenever you select a layer, you will have the design panel open which allows us to modify the different design properties.
You also have some more features like fill. This will allow us to define what the background should be for this frame.
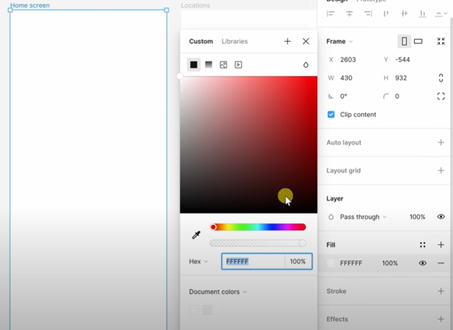
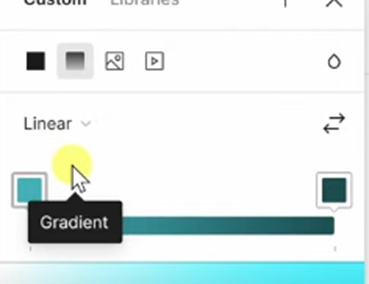
When you click on fill option, you can choose a colour background of your choice. You will see a solid colour background and can also set opacity, colour gradient, and type in hex code for colours as well.

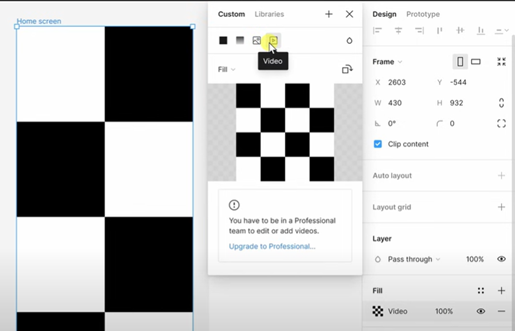
Adding background images
You could select an image or set a video as the background for your frame.
- To select an image background:
- Click on image and from the bottom, choose an image of your choice.
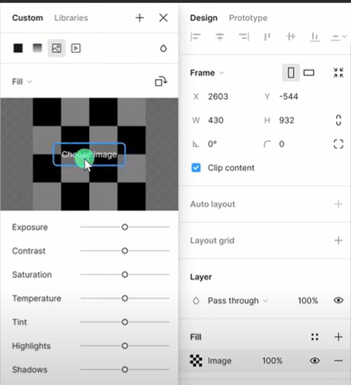
- Double click on image and select it to move around and fit it into the frame.
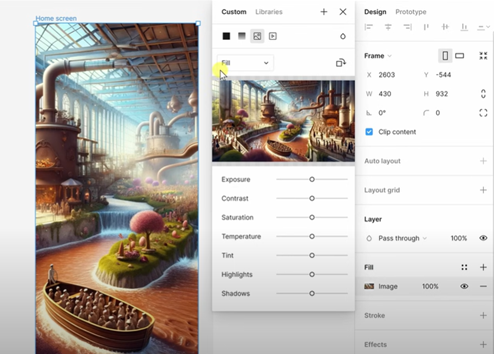
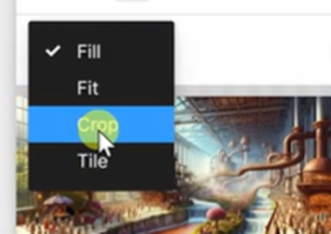
- You can also adjust things like exposure, contrast, and saturation.
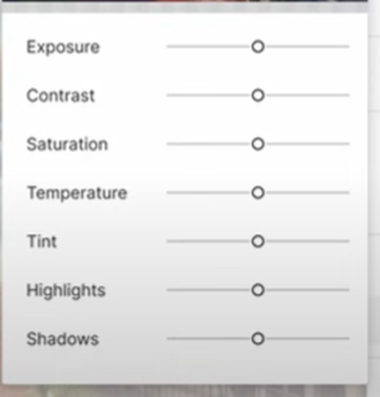
For more thing to add:
- After adding a background, from the right-side design panel, you can add a stroke, an outline or a border.
- To add this, click on the plus icon and add border by adjusting the properties of stroke.
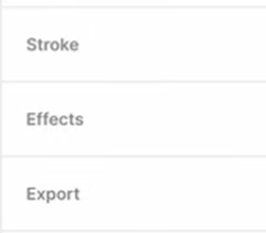
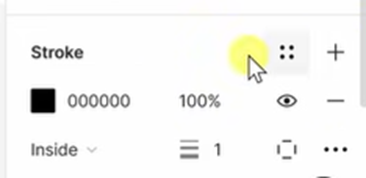
You can also select where you want this border to be shown.
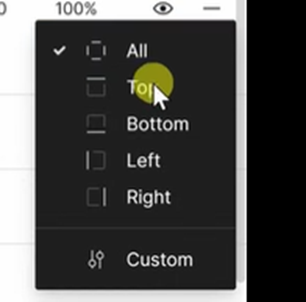
You could go through and modify all of these different properties. If it turns out that you no longer want this stroke effect, click on the minus sign and remove the stroke.
Furthermore, you could also add various effects like inner shadow, a drop shadow, and blur.
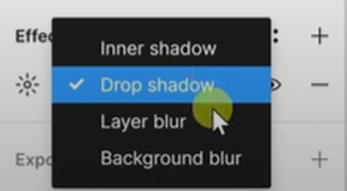
How to darken background image?
We could further blur this image or maybe add a little bit of darkened colour on top of it.
To darken it, we will use a rectangle.
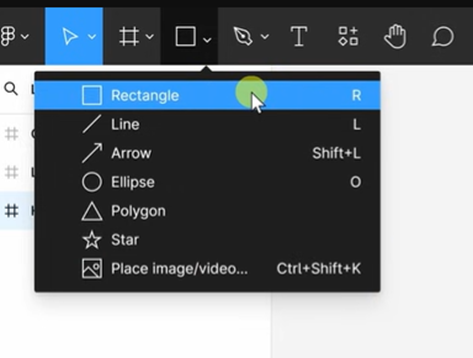
From the toolbar we will use shape tool and insert a rectangle and place on the top of image.
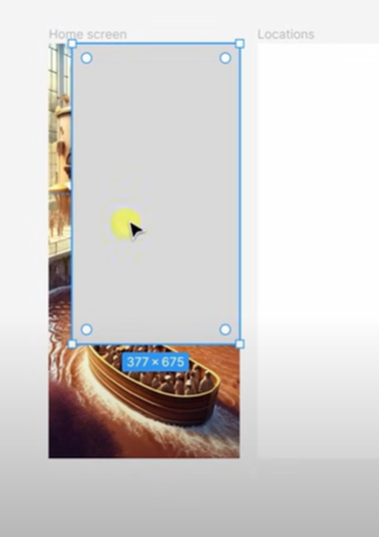
While dragging, different dotted lines will appear to help you place the shape perfectly.
With this rectangle selected, on the right-hand side, click on fill and select solid black colour and set opacity according to you to give it a darken look.
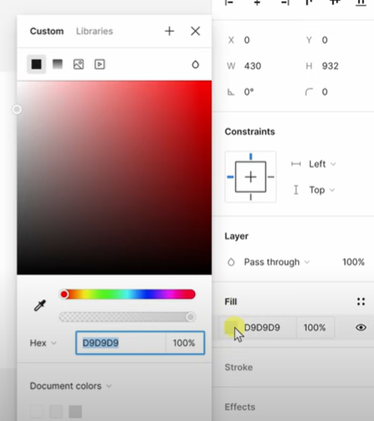
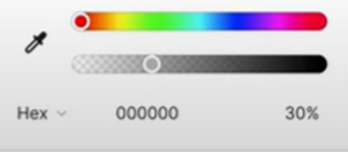
This is how it will be after making it dark.
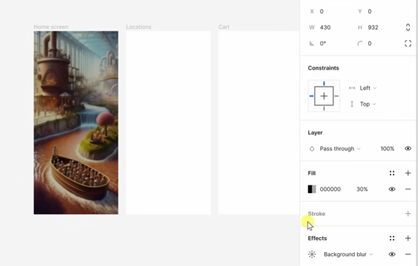
To further add effect to this rectangle:
- Click on this plus icon next to effects and within the dropdown and select background blur.
- If we click on this bright icon, “effect settings” will open up and you can adjust the intensity of the blur as well.

Adding text:
- Above on the toolbar, we have the text tool.
- You can also press the key T on your keyboard.
- You can now choose where you want to place your text.

- You will click on frame and then type-in anything we want. You will then modify the way this text looks.
- On the right-hand side, you have all of the different design properties for the text.
- If you scroll down just a bit, you can adjust the size of the text.
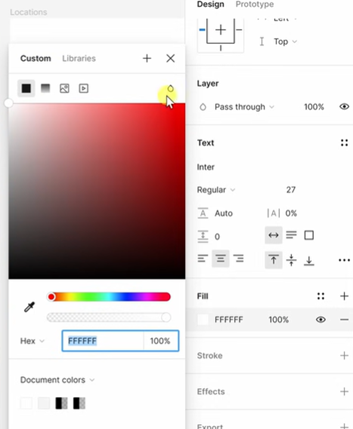
- Down below, you can also set the fill. When you click on the fill option, you can choose all the different colours.
- You will be able to set gradient and opacity as well.
- If you also want to add an effect. You can go to effects and open the drop-down menu.
From there you can select which effect you want to apply on text.
With the text selected, you will scroll up and can also align the text on your frames accordingly. You could align it to left, right or in the centre.
Down in the bottom left-hand corner of the file browser, click on the button that says explore community. This will open up the Figma community.
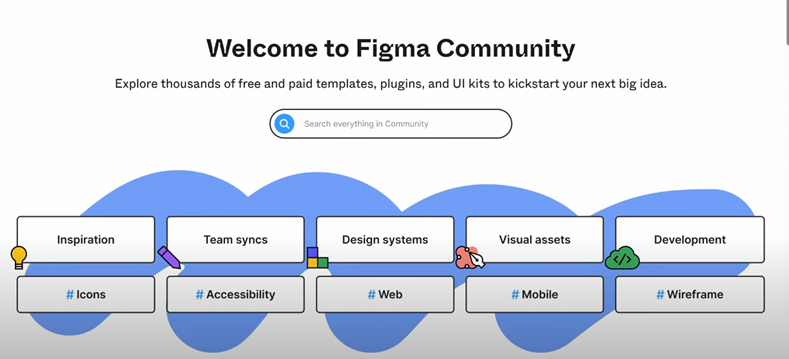
There you’ll find a wide variety of different free and paid templates, plugins, and also UI kits that you can leverage in your different projects.
Constraints:
Constraints tell Figma how layers should respond when you resize the frame. To make your design responsive, you have to scale according to different device screen sizes. Here, we need to use something called constraints.
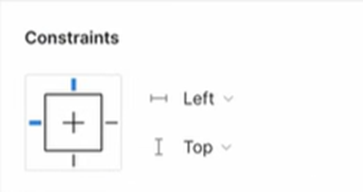
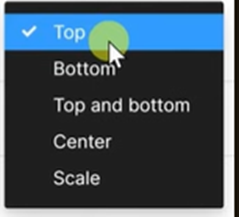
On the left-hand side, click on the layer you want to make responsive. A section for constraints will appear on the right-side panel.
Click on the menu and select bottom to lock the “bottom” and next one to “centre” to scale the screen efficiently. This is the exact behaviour that we want.
Masking:
To insert a mask, go to the shape tool.
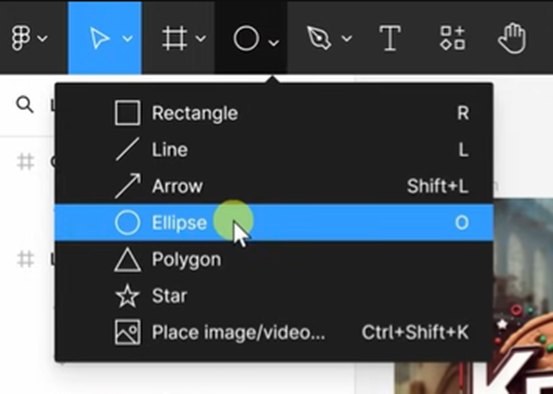
Click on shapes and here’s the option for an ellipse.
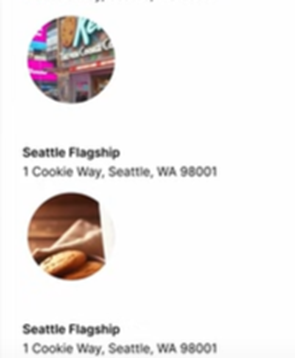
Draw an ellipse on top of the image and it will only show you the part of image you want to show.

Right up on top, we have the option to “turn this ellipse into a mask”. So, this eclipse will act as a mask here.

If we look over on the left-hand side at our layers panel, here we see the ellipse layer above a rectangle layer.

Here, we need to reverse the layers to see the picture in eclipse.
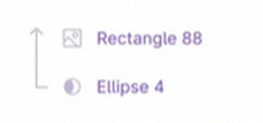
This is applying the mask to anything above it.
Share and export figma design
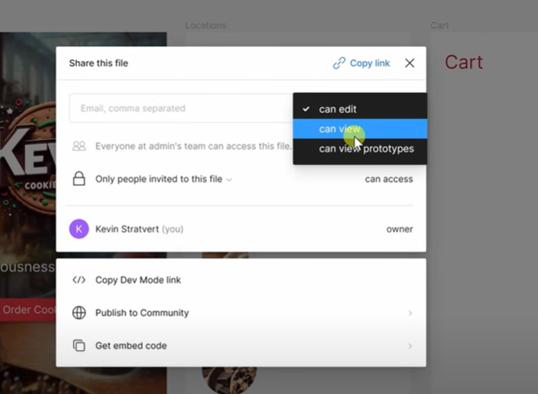
Anyone on your team can come into the project and start working on the same design with you. However, if you would like to share your file with others, in the top right-hand corner, you can click on the share button and here you could type in email addresses of other people.
You can also define their permissions. Should they be able to edit, just view, or just view the prototypes? and also you can be able to see everyone who already has access to your file.
Export:
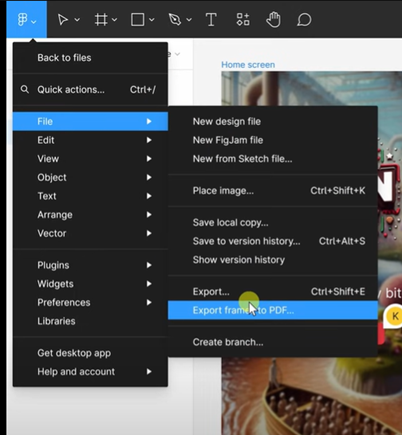
Another way you can share your designs with others is to export the designs.
On top, you can click on the Figma menu and down under file, we have the option to export.
You can also export to PDF and when you click on that, you can define what you would like to export.
We have discussed a lot about the basics of Figma. You all have to be consistently going through all the Figma features to be proficient in it . Try to add creativity to projects you will be making up-next and do try some new things as well. But, if you still need any further help or want to learn “UI Design” in detail, you can reach out to our skilled and trained mentors in ESS Institute Dwarka, which is one of the top UI Design course in Delhi. You will be working on some real-world projects as well. You can also enrol in our web development courses for the same. We know that the learning curve is quite steep but our team is constantly working to make things easier for all of you.
Learn about responsive web design in detail with examples
Be consistent and keep growing!
